
· By Talia Bromstad
Risography 101
 Bromstad Printing Company is Atlanta's source for affordable risograph printing and binding services! Choose from 13 ink colors and multiple paper stocks. Common custom projects include posters, prints, greeting cards, menus, stationery, and booklets.
Some basic information to know:
Every print is unique
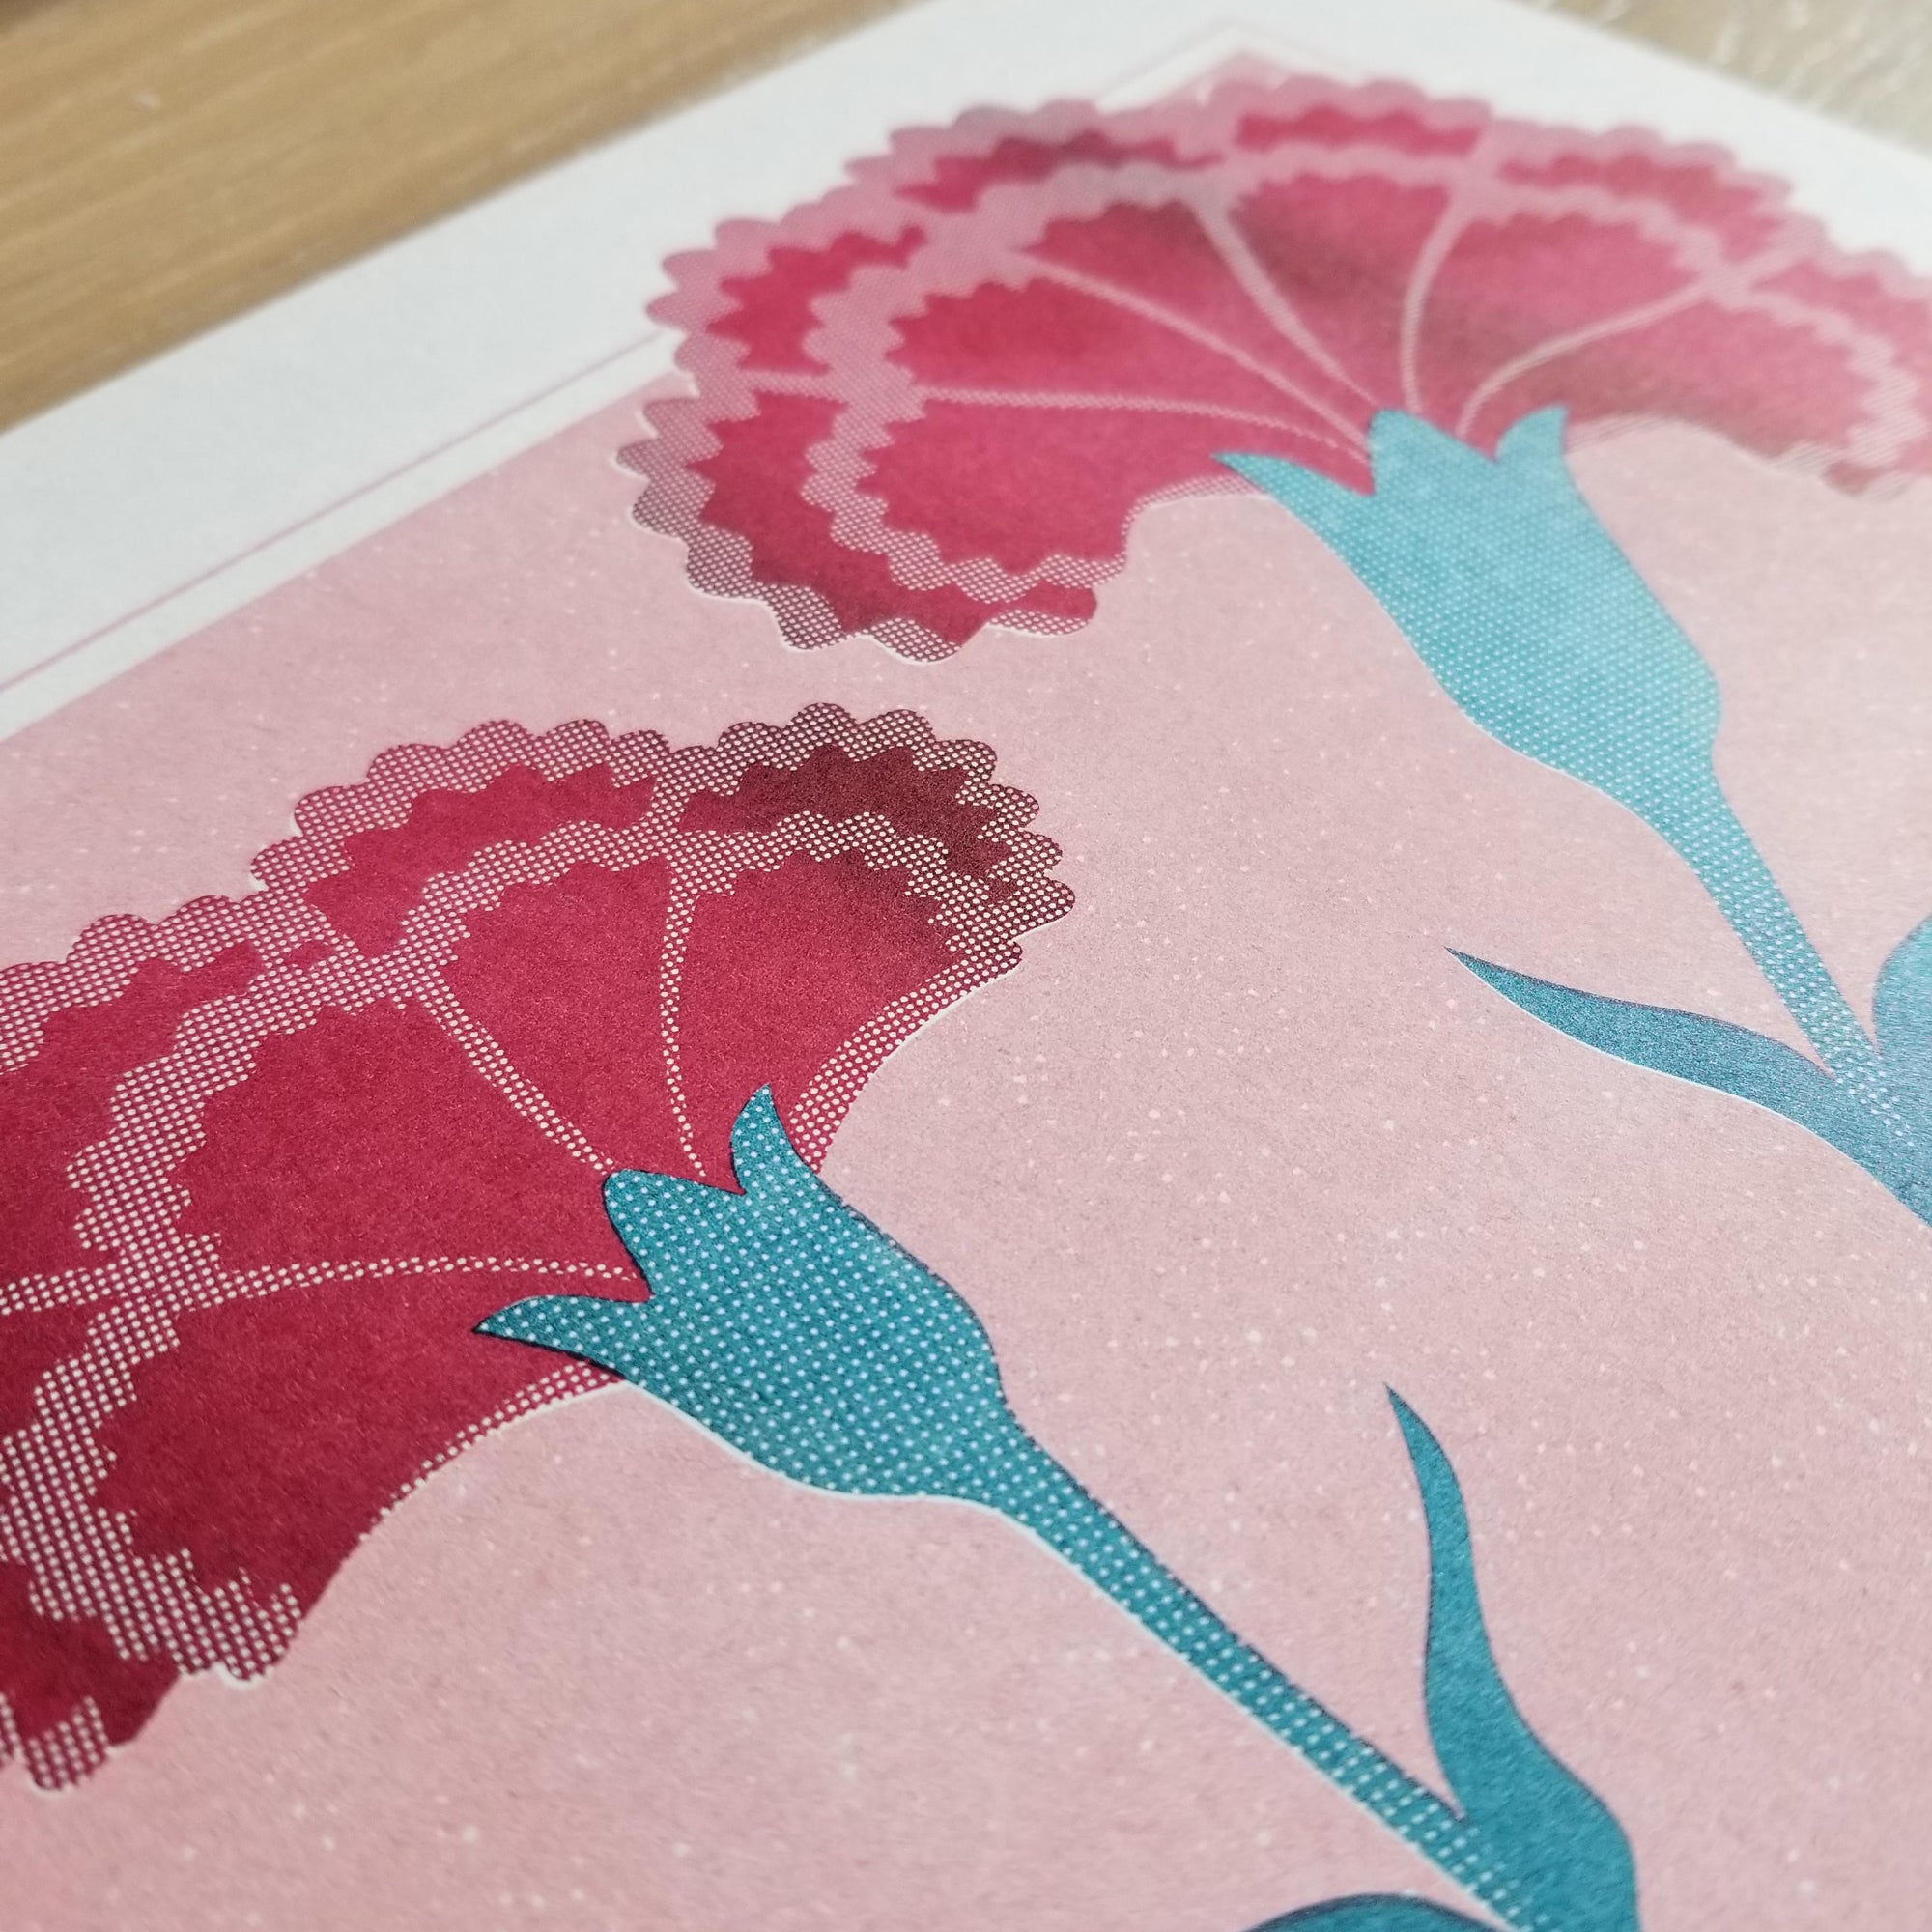
That's just the nature of risograph printing, so don't expect perfection in your final print; risograph printing is not an exact art.
In general, a print mis-registered up to .06125" is considered Pretty Darn Good and thus acceptable for sale. Some other imperfections may include: dust gets on the ink drum while it's printing and that can shows up on a print as dark spots; big dense areas of ink coverage get sticky and can grab the tip of a needle that helps move the sheet through the risograph machine, leading to a thin streak down the page where the needle has dragged; roller marks down the page center, which are made when the rubber feed rollers of the machine put pressure on prints with previous layers of ink already on them (can be avoided with strategic design); patchy areas of broad ink coverage.
Additionally, our specific MZ1090u has a way of printing everything sliiiightly skewed on a page—not enough to really notice unless you have a design with very tight registration. That's why it's always a good idea to design things that aren't completely reliant on perfect registration for them to work. Basically, lean in to the imperfections.
How does a custom job get priced?
I look at a design and consider project variables such as how many ink colors are included, what the final dimensions are (and does it require trimming?), what kind of binding (if any) it calls for, what quantity is needed, and other design attributes. I assess how many hours of labor will be involved based on the design dictations and run all the variables through a calculator that combines all my overhead, labor, and consumable costs. Every job will have ink and stencil costs, and unless you provide your own paper stock (an option!) paper costs as well. A simple job will have 1–2 colors and no trimming, whereas a more complicated job will have many ink colors, double sided printing, or may require trimming and binding.
Project Minimums:
Risograph printing is very heavy on the front-end set-up, but once everything is inked and registered, it's just as easy to print 10 as it is 100. The bulk of your quoted project cost goes to setup, which is why if you only want 1 or 5 or 10 of your print, you'll see they have a high cost per piece. In general, a project minimum of 25 copies is recommended, but cost-per-piece drops dramatically as you near 250 or 500 copies.
Number of Colors:
You will want to decide on what colors to use in your risograph print. There are literally hundreds of possible color combinations, but 1-2 ink colors per print are the most cost effective. Consider how ink colors may layer on top of one another to create more color variation in your print. Because we have a limited color palette to choose from (sorry, no Pantone matching or CMYK), you can get creative with your combinations.
Similar to the set-up cost above, the number of colors used in your print will affect cost. We can print two colors at a time on every print, meaning it takes just one pass to print two colors. As such it's a pretty minimal cost difference between 1 and 2 colors, while the next cost bracket would be between 3 and 4 colors.
If you are planning a zine or booklet, remember that the cost multiplies quickly if every page is getting printed front and back with multiple colors. Try to design with minimal color changes between spreads.
How do I prepare my artwork/design for risograph printing?
Essentially, risograph printing requires a stencil to be made for every color ink sued.
You may provide your art as a flattened JPG image, and I can pull color separations from that, but it is preferred for the art to already be separated before we get our hands on it. All the things you want in Color 1 on your print will require a grayscale separation, and all the things that should print in Color 2 are in a different file as a grayscale separation. The separated layers can be grayscale JPGs or PNG files.
I take these separations and combine them into a multi-channel EPS file and specify spot colors to each channel, Color 1 and Color 2. So those grayscale separations are now assigned a color ink. The file then moves into pre-press, where it is fitted onto the press-sheet for printing.
Other acceptable ways to submit art is as a multi-channel EPS file yourself, or as a PSD with clearly named layers for each of the desired colors. Keep in mind risograph ink is slightly transparent, so any area with two inks layered will mix to create a new color. The "multiply" blend mode in Photoshop will show you roughly what those two colors will look like layered.
OK let's get printing!
Reach out with your project information here to get started or email info@bromstadprinting.co.
